Remote Time Management: Design Process
1.
Conduct a Needs Analysis
It’s time to gain insight on what the ‘gap’ is and what you need to design a solution for. Conducting a needs analysis helps to identify the issue and recommend the best solution. For this Remote Time Management course, asking three simple questions based on action mapping, helped me to flush out where there were performance issues. I used Miro to help visualize this process.
2.
Collect and Streamline Content
Collaborating with stakeholders and SMEs will help you to recommend the proper learning solution. Is training even required? Would a job aid work better? How about both? After understanding the subject matter and the quantity of content, it was clear that a short eLearning course paired with a job aid would provide the best delivery to enhance performance. Content was collected and streamlined through a google doc.
3.
Course Outline and Storyboard
With the content in place, I created a visual course outline in Miro. Chunking the information down into modules, and creating a system for content, interaction, and knowledge checks created a quick visual reference. I frequented this guide throughout the design process. Using Adobe xd, I storyboarded each ‘slide’ with content, image blocks and a description of interactions/animations.
4.
Prototyping
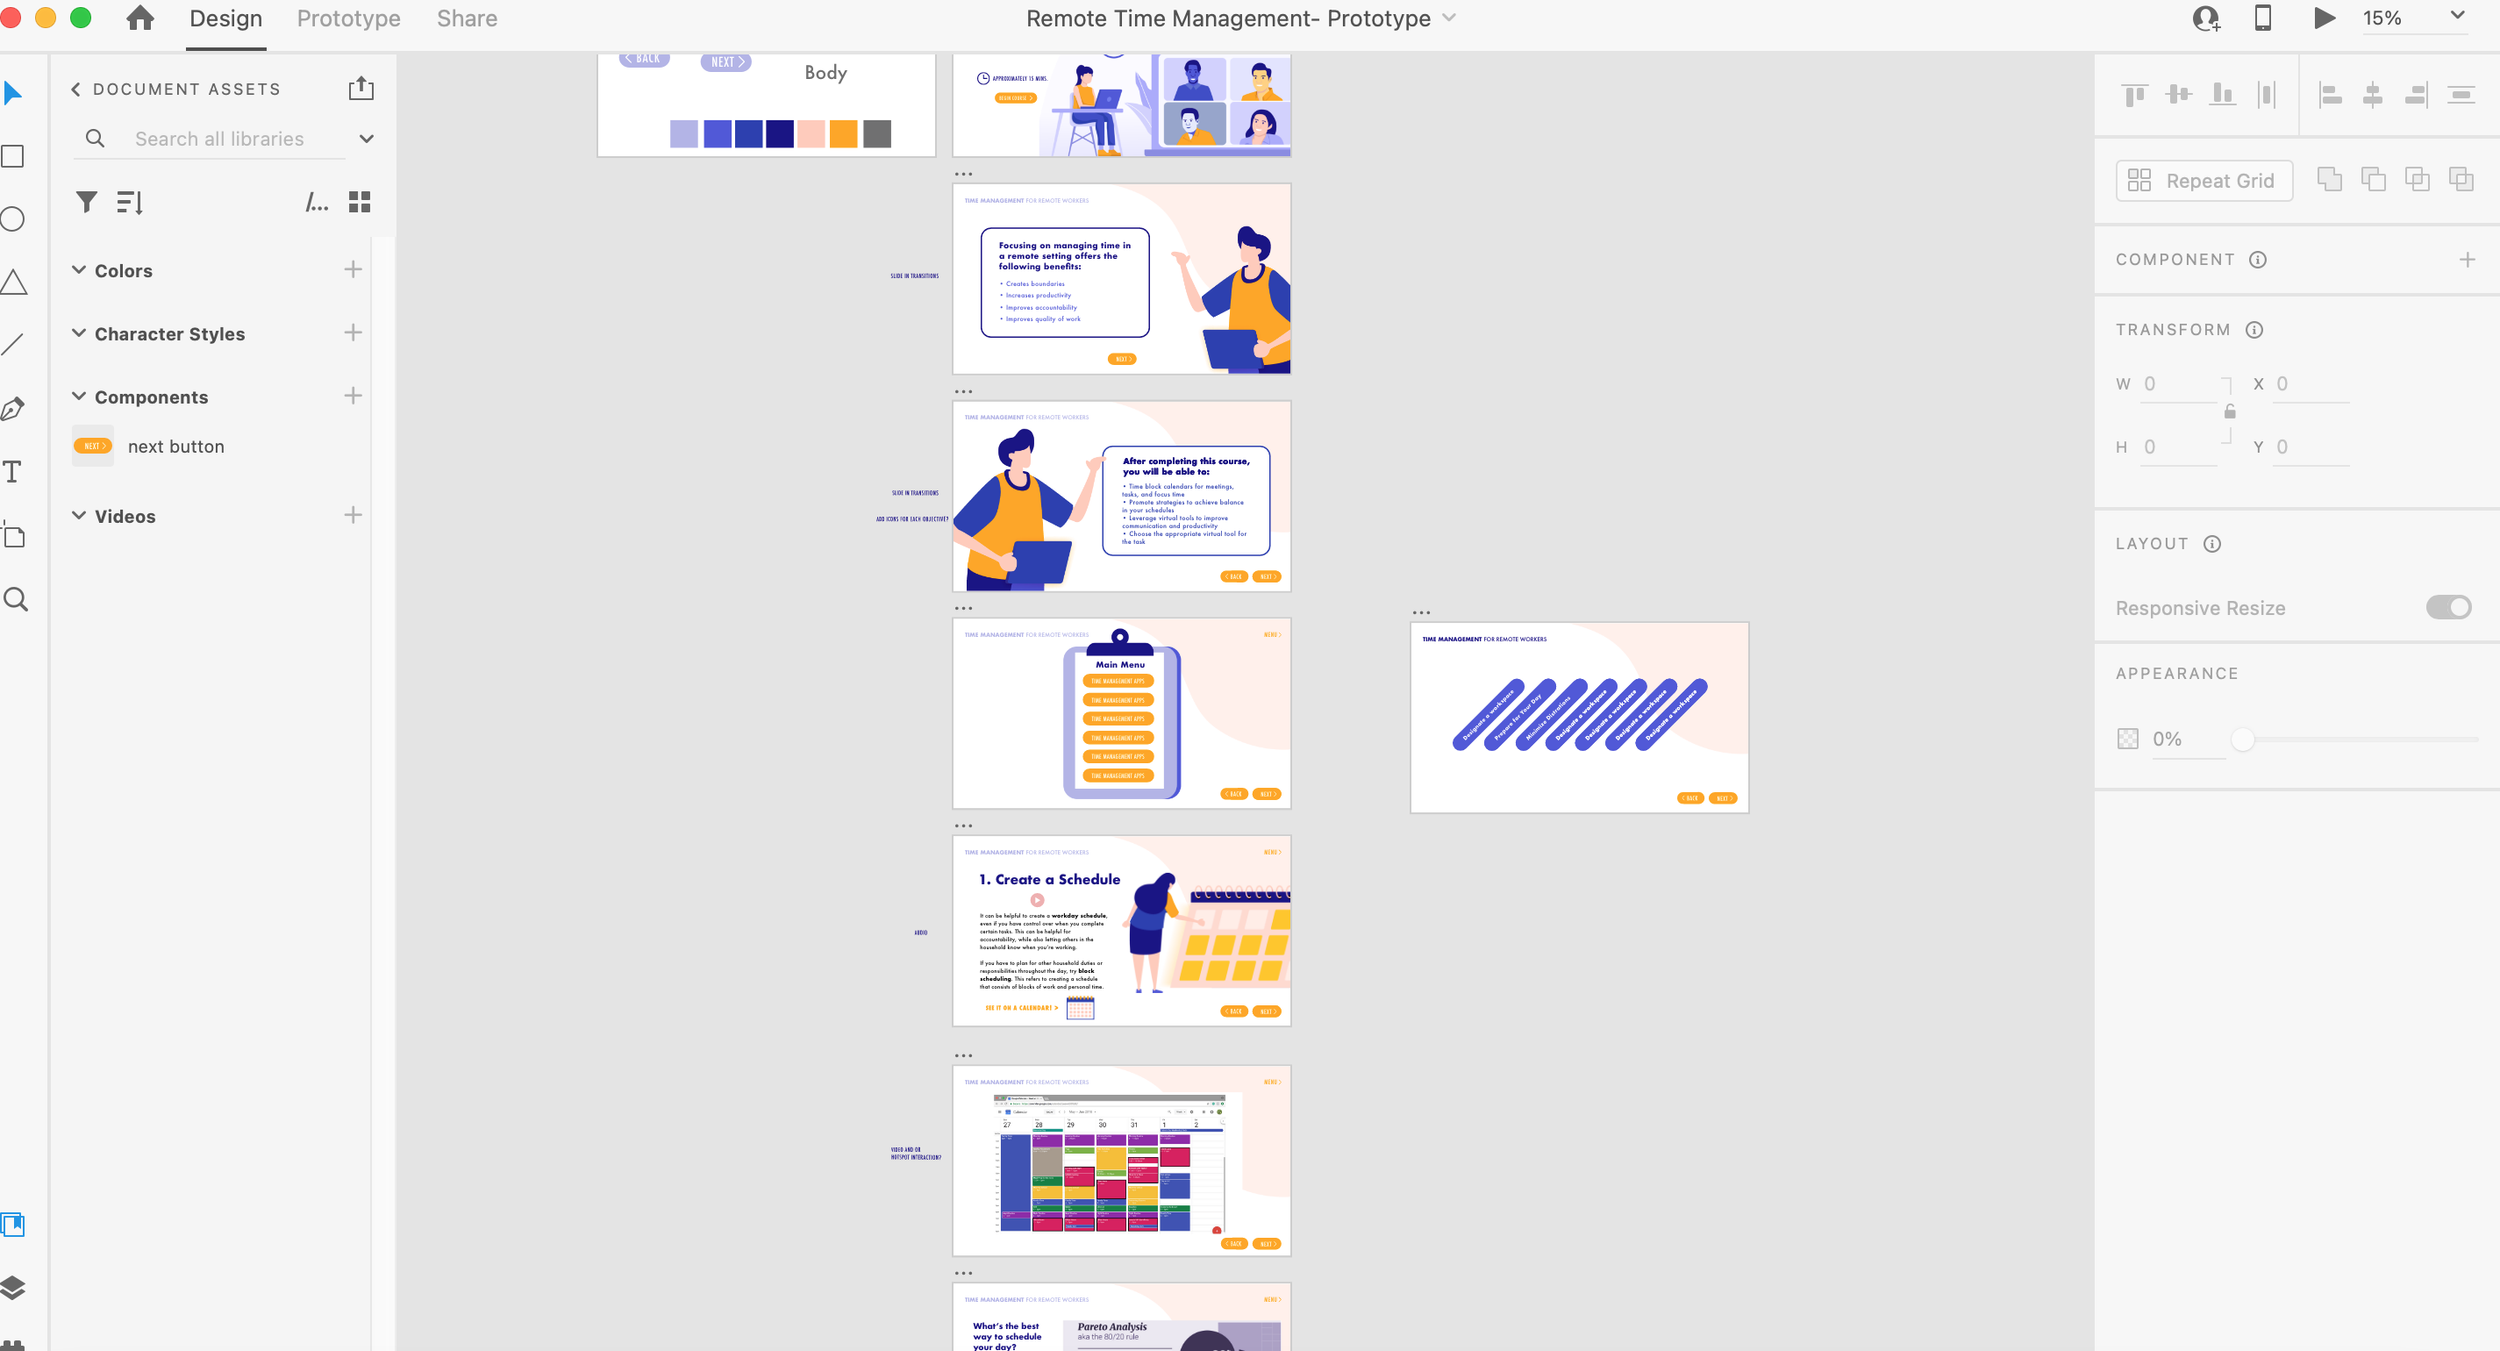
This course was ready for an overall ‘look and feel’. Using Adobe xd for layout design, and Adobe Illustrator for image assets, I was able to develop a branding guide, and implement these standards across the course.
5.
Course development and Implementation
Using the prototype images as a template for each slide, I developed the final course using Articulate Storyline. This allowed for self-paced learning with engaging and customized interactions. The course was hosted on AWS (Amazon Web Services). The job aid is provided as a pdf for download on the main menu of the course, and is also available separately.


